Design your own personalized product with engraving in our configurator!
You can find the basics and tips right here.
"Everything you can imagine is real." — Pablo Picasso
With our configurator, you can quickly create your own design and individual engraving.
Here you have the option to add text directly, select from our templates, or upload your own designs.
Below you will find information on how it works and what aspects you should consider when creating your personal design for engraving.
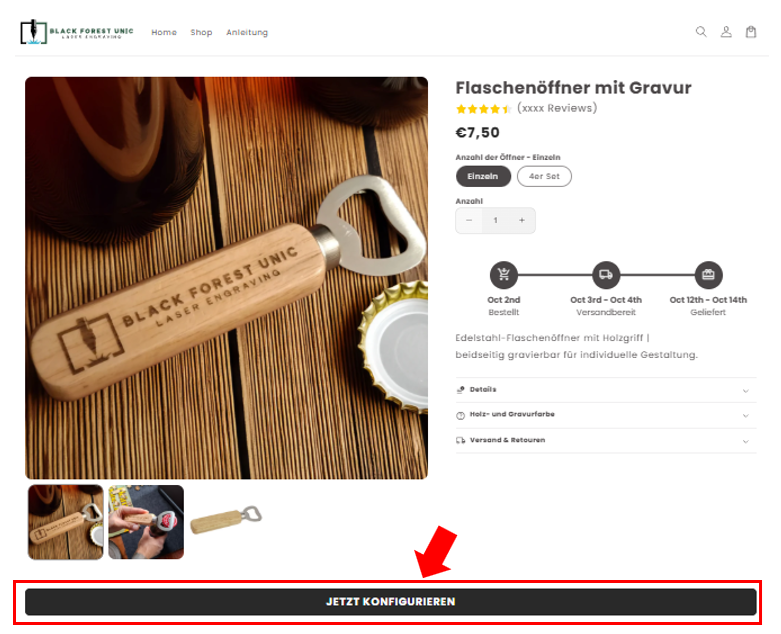
Step 1:
Simply click the "CONFIGURE NOW" button on the desired item and your product will be loaded into the configurator.
Step 2:
Important information:
We only ever use one color, either black or white.
- Engravings are done exclusively on black areas of the design.
- The engraving color is not black.
- On slate products, white areas are engraved.
- A margin is required because borderless engraving is not possible.
- Only visible elements will be engraved.
- Images may suffer from loss of detail. Group photos are unsuitable.
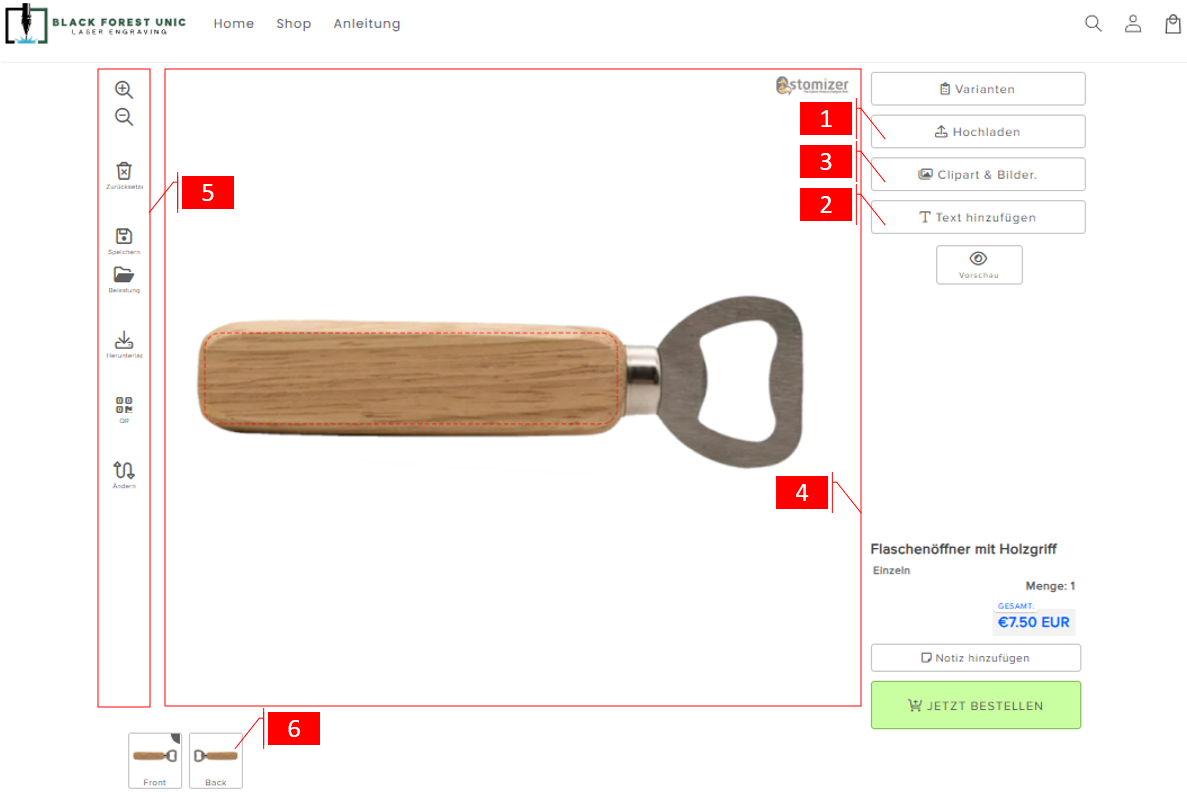
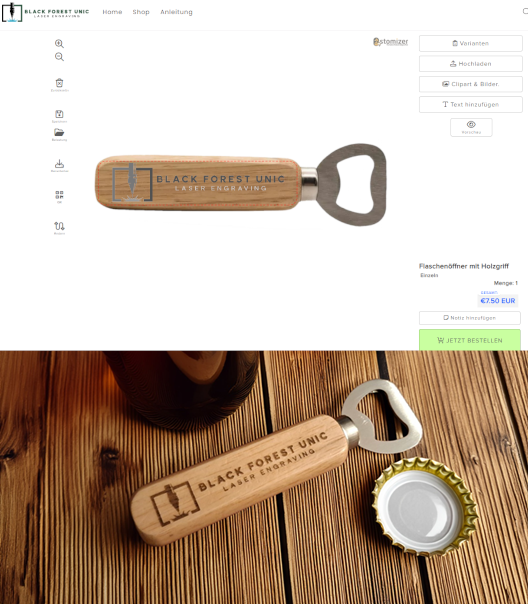
The essential function of our configurator
The image shows the main view of the configurator. You'll find this view for every product we offer that can be configured.
1. Upload: Here you have the option to upload your own images, logos, or graphics from your own computer (PDF, JPEG, PNG). The image will then be processed and added. Please wait a moment until the image appears.
2. Insert text: Under point 2, you add text. Here you have the option to select from different fonts, change the size or add special features, bend the text or modify the spacing.
3 Designs & Sayings: Under Clipart & Images, you have the option to choose from our templates. Here you will find numerous designs and sayings that you can use freely.
4. Design area: The product is visually displayed in the workspace. Here you can design your products interactively.
5. Action bar: In the action bar (left), you can download your designed product as a graphic, save it, insert a QR code, and modify your product.
6 Additional Engraving Areas: Here are the different engraving areas or sides of your item. If multiple surfaces are available for engraving (e.g., front and back), you have the option to select and customize them here.

Move and arrange graphics and text on the design surface
When you insert a graphic or text element into your design, controls and information fields appear around the object. These allow you to move, rotate, scale, or delete the object.
If the control panels are not visible, simply click on the object to activate them.
To deselect the object, simply click next to the frame or select a different object.
- Top red dot - Rotate: Hover your mouse over the top red dot until a plus sign appears. Then, hold down the mouse button and move the pointer. The object will rotate around its center point. The rotation can be clockwise or counterclockwise.
- Red dots around the object - resize (scale): You can resize the object using the remaining eight red dots around it. Click and hold a dot and drag it inwards or outwards to change the size.
- Bottom left - Delete: in the bottom left corner you will see the red trash can icon; if you click on it, the object will be removed.
- Bottom right - Edit: Clicking the white pencil icon changes the bar at the bottom, and additional editing options become available.
-

Designs & Sayings - Templates for your product
Discover a wide range of graphics, motifs, and quotes. You can easily add these templates to your design from the library with just one click.
To do this, simply click on the "Clipart & Images" button in the configurator. You will then be automatically taken to our library.
